
Shibori Tie Dye Duvet Cover | DIY
Tie dye has been really popular lately, and recently I saw a tie dye duvet cover for sale but thought I could make one without spending a pretty penny. I’ve never tried shibori tie dye before but the duvet cover turned out really well! If you’d like to watch the video of the whole process below:
Overall the project was pretty cheap – you just need a plain white duvet cover, fabric dye, and a dye “setter.” Technically, you don’t need to set the dye, but I knew I’d be washing it regularly and want the dye to stay vibrant for as long as possible.
Shibori is different from other regular tie dye because the folds create the pattern – I did a triangle pattern for the pillowcases and a square pattern for the duvet cover. There are so many different ways you can fold the fabric, and you can also try to make your own!
How to fold the duvet cover

I started out by laying the duvet cover on the ground to do the folds (and my dog Luna decided to help). I suggest getting another person to help you so the folds are even, but it can be done alone if you take it slow! Just try to keep them consistent as you fold.
The folds will be accordion style – over and under. Keep doing this until you have one long strip of fabric.

Once the duvet cover is folded into a long strip, start folding it over and under again. This time you’ll be making little squares.


After you have a giant square, tie some twine around it to hold it in place, or use large rubber bands if you have them.
You can fold the pillowcases the same way, or do triangles instead of squares. I decided to do triangles so the pillowcases are a little different than the tie dye duvet cover. The differing patterns look really cool once it’s finished!
Mixing the dye

Follow the instructions for the fabric dye you bought. Mine said to add in salt and dish soap to the water, so I put those in the water before adding the dye.
I mixed everything together in my sink because I don’t have a large enough bucket to fit all the water in, but if you do, feel free to forgo the sink! This did not end up staining my stainless steel sink.

Mix everything together really well, and if you want to check the color you can use a paper towel to do a quick test of how it’ll look!
How to dye the fabric

Once the water is mixed, slowly add in the duvet cover and pillowcases. You might have to hold them under the water until the fabric is saturated and doesn’t float to the top. Go slowly!
Also try and give each piece enough space so that they aren’t touching one another. I let the fabric sit in the dye for about an hour and stirred them around halfway through.

Once the fabric has sat in the sink for around an hour, or the recommended time for your dye, give it a good rinse in cold water. From there, you can either wash the fabric or use a dye fixative to ensure the dye doesn’t fade.

I didn’t have to add anything into the water for the fixative – just the solution itself. Again, go slowly and make sure the fabric is completely submerged. Stir everything around again about halfway so all pieces get covered.

After I was done with the fixative, I let the duvet cover and pillowcases sit out overnight. Pro tip, if you have any puppy pee pads, these are great to sit the fabric on because they soak up all the excess water. I also use these when I water my plants!
My fabric dye said to let everything sit out until the fabric is dry, but honestly, I think it would’ve started growing mold before all the folds would be able to dry. I let it sit for a day and then decided to wash it since it hadn’t dried that significantly.

Wash everything on the coldest setting possible, and if you’re worried about the dye bleeding out of the fabric, throw a towel in the washer too. I did this just in case, and it caught the excess dye that came off.

Tumble dry on low and put it on your bed!

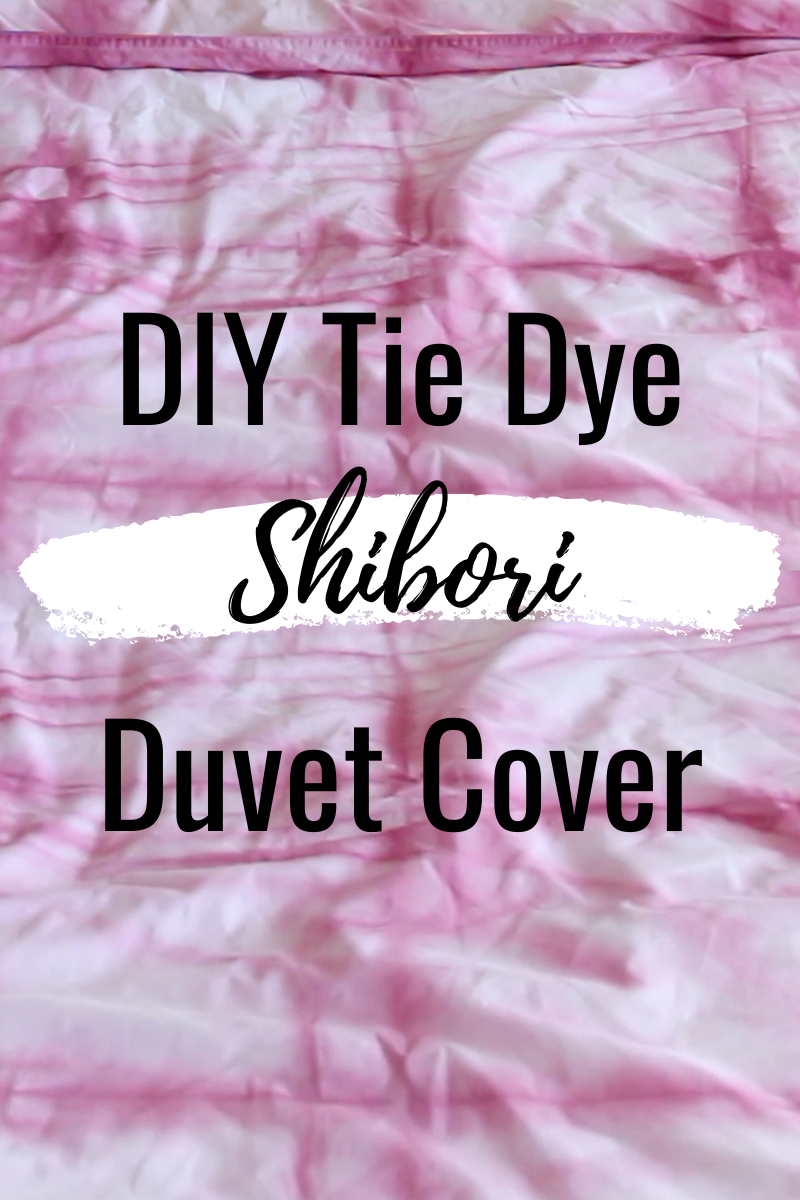
I love how the pattern came out, and it’s the perfect shade for what I was wanting! Let me know if you end up making a shibori tie dye duvet cover, and make sure to tag me on Instagram!
About The Author
kendralstricklin
Related Posts

How to Make a Simple DIY Flower Wall
Beautiful flower walls seem to be all over Pinterest. Since I had an empty wall…
April 1, 2020